
This was the first year I actually acted on my desire to learn how to garden. I figured I’d start off easy with an herb container garden. While at the nursery I picked out all the herbs I wanted to grow (mint, chives, basil, thyme, rosemary, cilantro & dill) and told myself “yeah, growing 7 types of herbs you’ve never dealt with before is a GREAT way to start off easy!” Immediately after coming home I was emailing my sister with another question about gardening. I mean, in theory, container gardening seems easy, but then there were all these worries that I was overwatering or I wasn’t clipping them right—should I even be clipping them at all a week after I planted them? Oh, it was nerve-wracking, so I signed myself up for an herb gardening class through the St Louis Community College Continuing Education program. It was so helpful to learn how to maintain these herbs to get the best growth and flavors out of them.
Anyway, having recently taken the class, when David came home with a couple steaks to cook, my mind immediately went back to the herb compound butters we discussed in the usage portion of the class. Man, my mouth started to water. I quickly googled “herb compound butter” and found this simple Betty Crocker recipe. I don’t grow oregano in my garden, so I just subbed in some thyme, because I figured that herb would still be found in an Italian seasonings spice mix, and it still turned out delicious!
I didn’t want to create an entire log for just the two of us, so I just took out a couple tablespoons of butter and mixed in some herbs. And boom. Delicious. Chalk this recipe up as a win!
INGREDIENTS
- 2 Tablespoons butter
- 1/4 teaspoon fresh rosemary
- 1/4 teaspoon fresh chives
- 1/4 teaspoon fresh thyme
- 1/2 clove fresh garlic
- salt and pepper to taste
DIRECTIONS
- 1. Rinse and chop all your herbs. Mix together all herbs together with softened butter (basically mash some butter on a plate with a fork for a bit to break it up and get more surface area exposed to room temp. After a few mashes, the butter will be soft enough to toss the herbs on). Salt and pepper to taste.
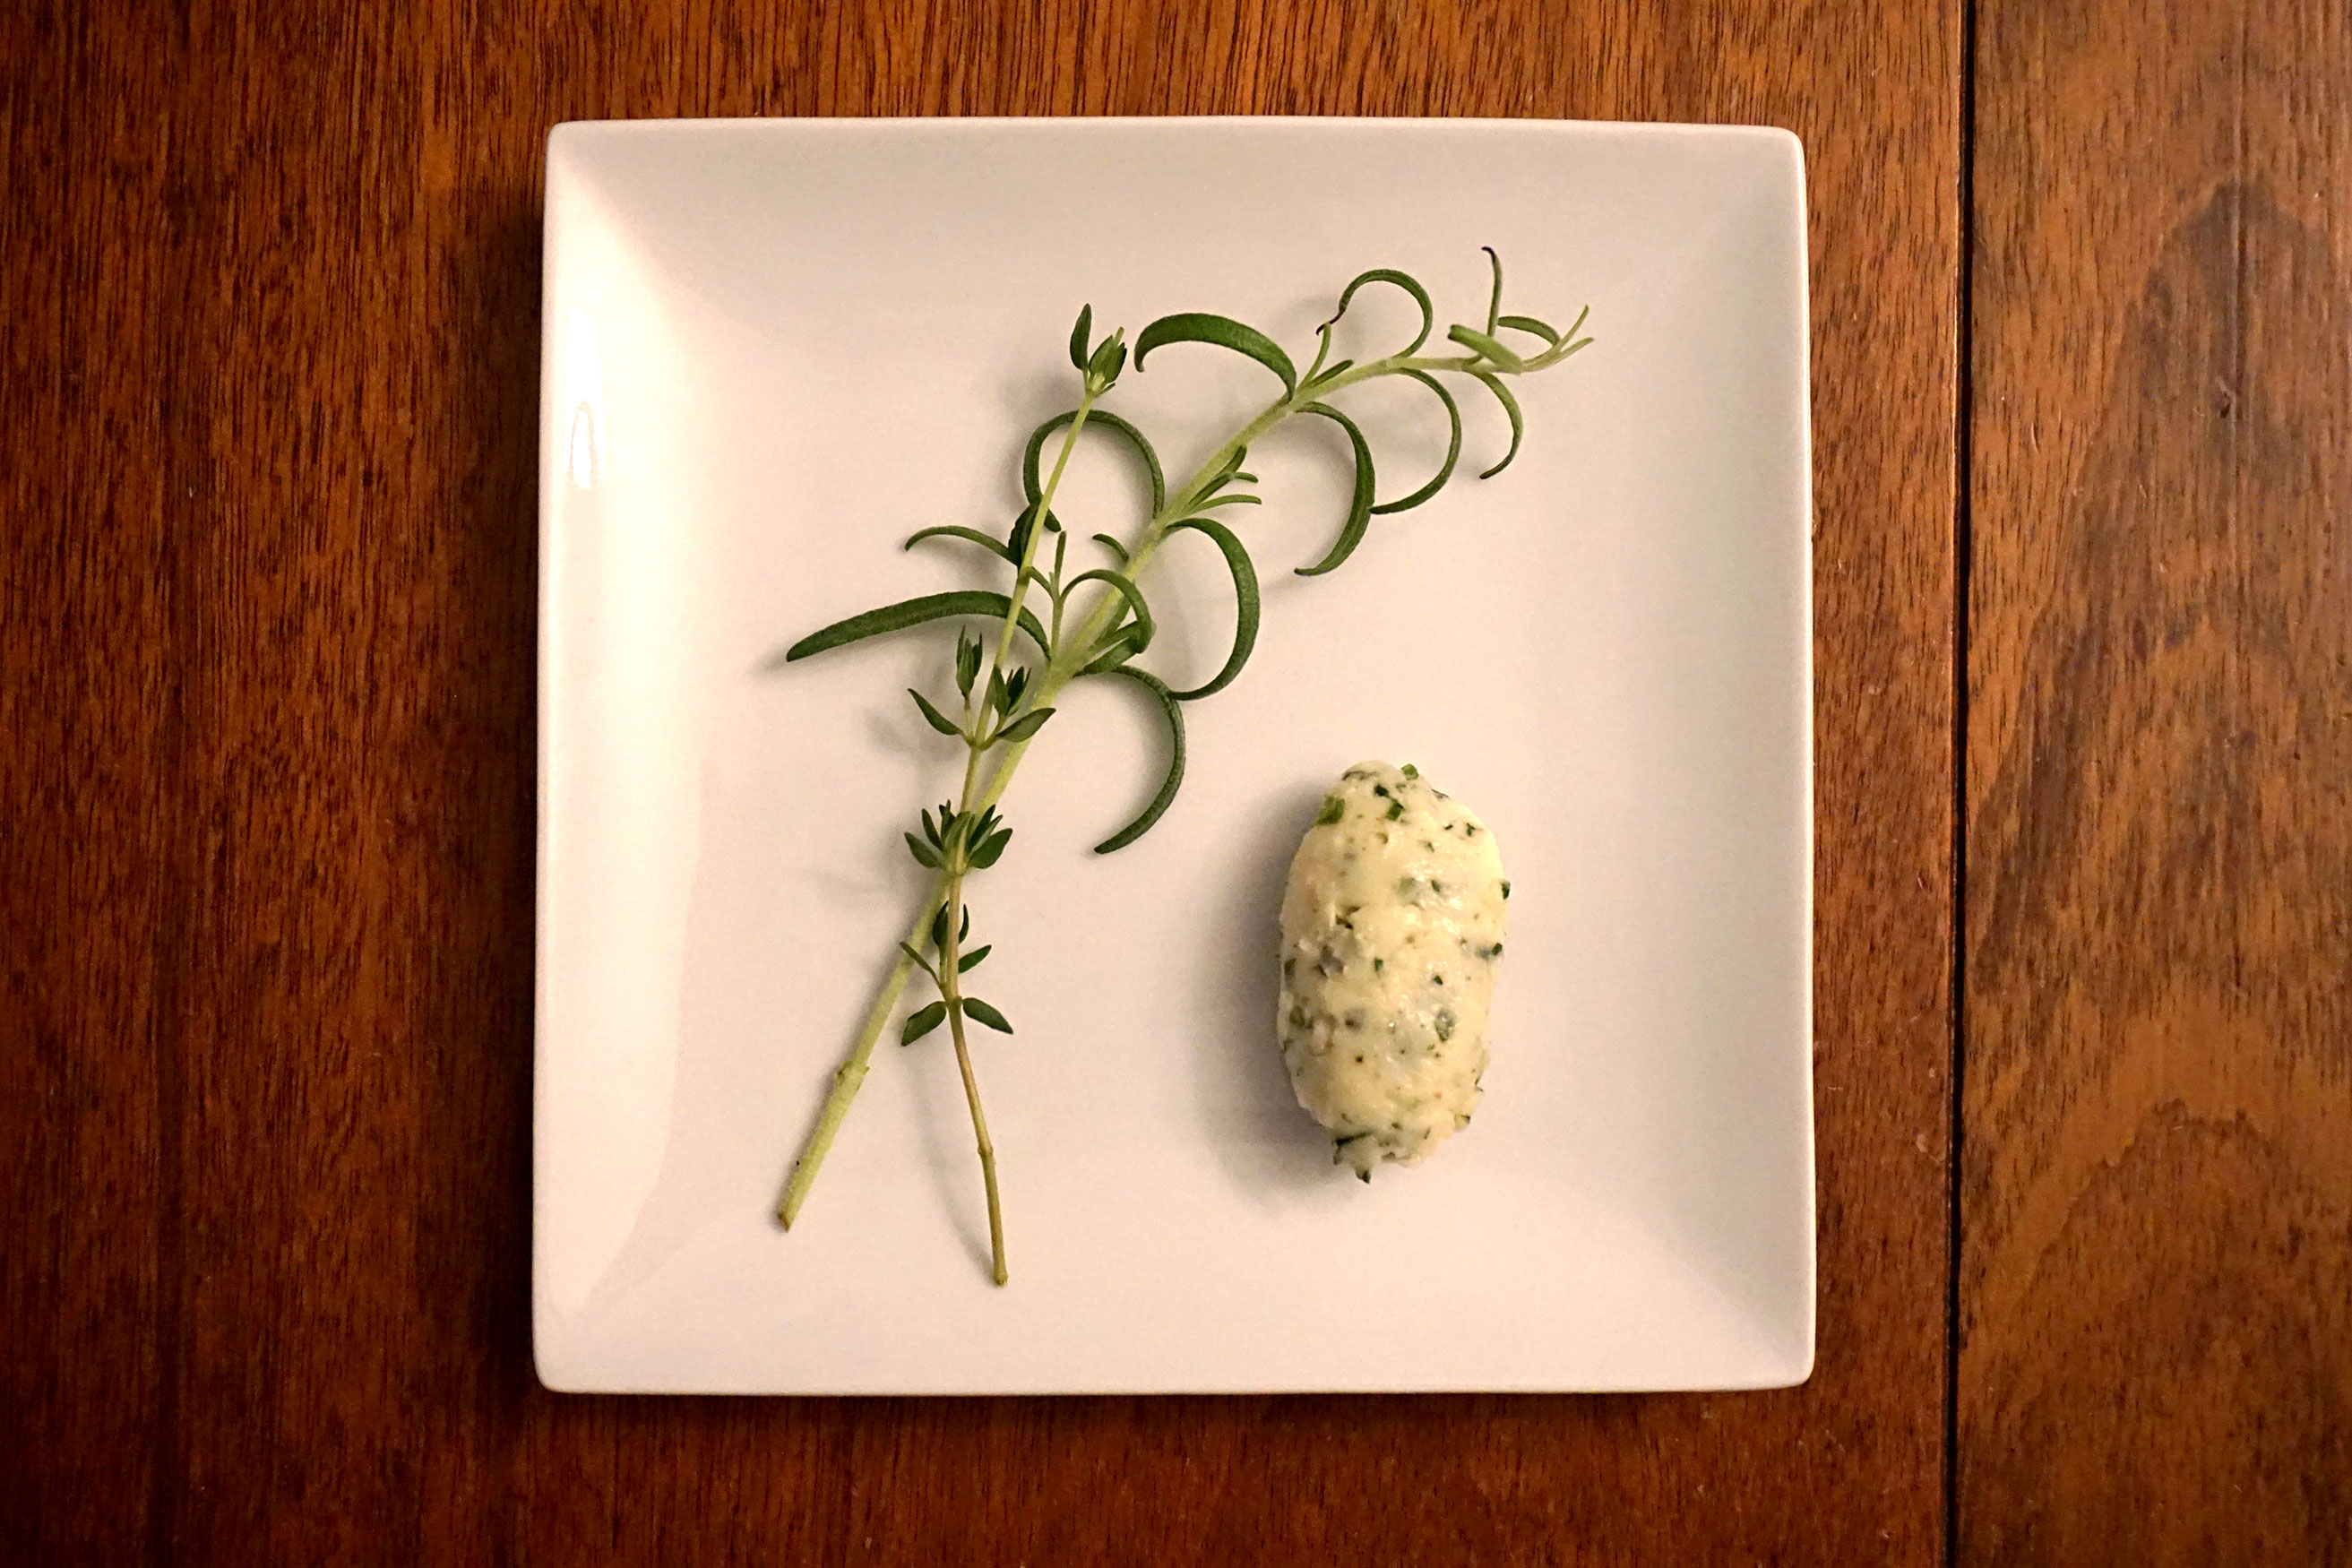
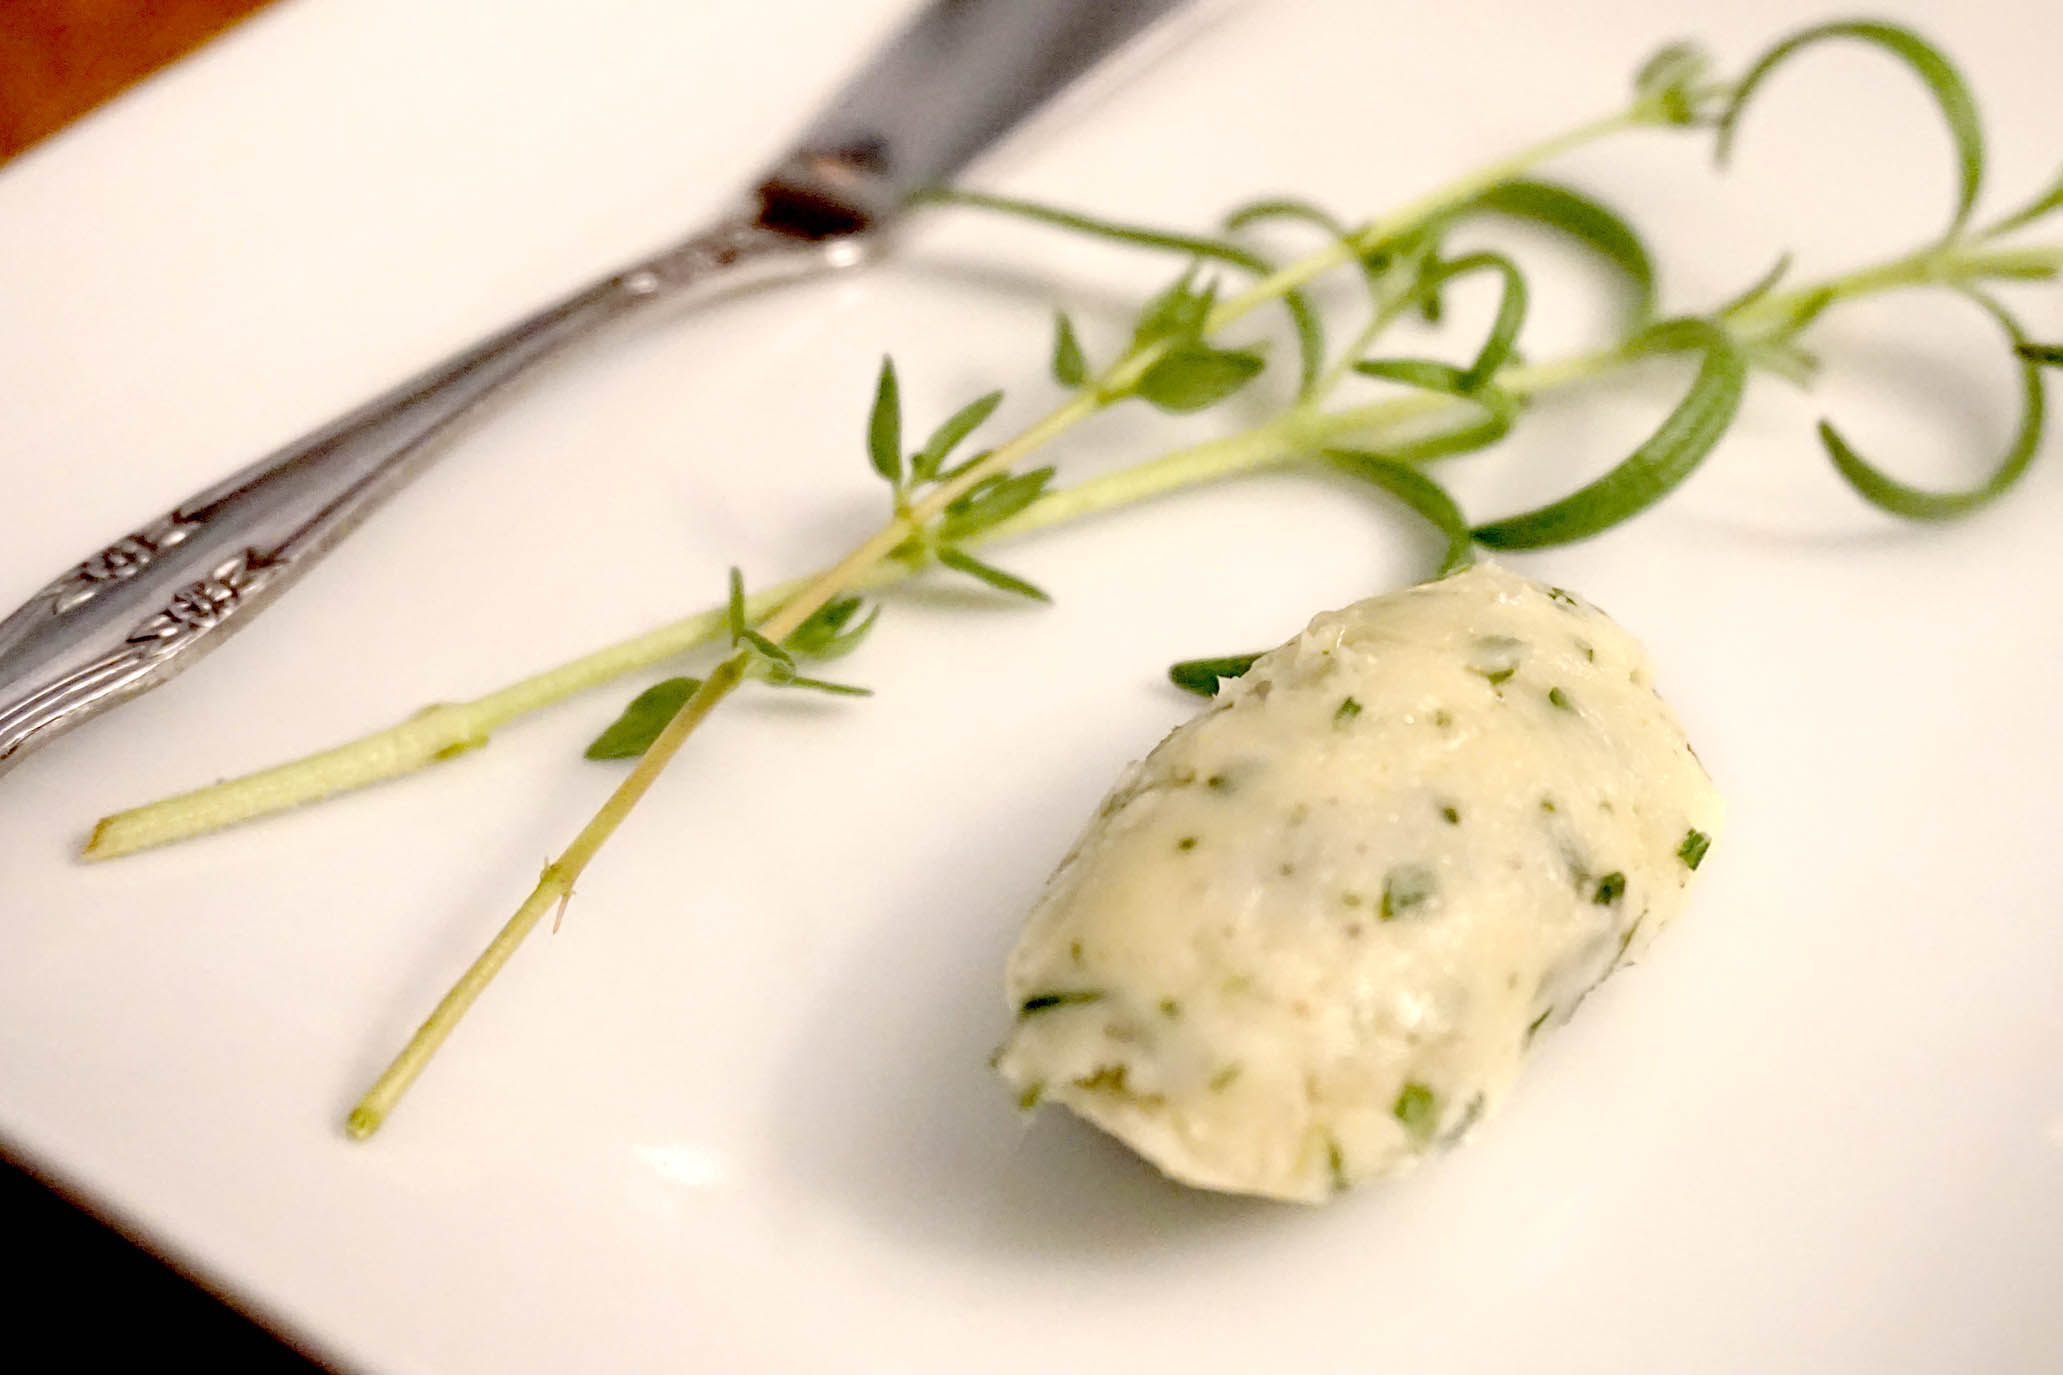
- 2. Form into a pat or use two spoons to shape into a quenelle. Put in the fridge to re-harden for 30 minutes.
// A quenelle? Yeah, I had to look up the term because my mind was stuck on “cannoli,” and I knew that wasn’t the word I was looking for! I’ve only seen chefs make quenelles on cooking shows and think it makes a pretty presentation, so I assumed my way on the presentation, too! You can see from my photos that I didn’t look up how to do it until now because mine just looks like a round football, not a pretty, correctly-formed 3-sided football. Watch what a quenelle should look like and how to make one properly on this video from Fine Cooking. HOORAY, LEARNING! Cheers, y’all. //
